The short version
- Train the wrist in every direction it moves, plus forearm rotation, grip and finger opening, rather than just doing wrist curls.
- Start with isometric holds, move on to light weighted curls with a slow lowering, then build up to bodyweight positions like planks and palm lifts.
- Three 15 to 20 minute sessions a week on non-consecutive days is enough for most people.
- Progress one thing at a time when you can finish all sets with good control and no pain the next day.
- Mild effort is fine, but sharp pain, tingling or pain that builds during a set means stop and get advice.
To strengthen your wrists, train them like any other muscle group: start with easy mobility and isometric holds, move on to light wrist curls in every direction plus grip and finger work, and finally build up to bodyweight positions like planks and carries. Three short sessions a week, adding a little load every week or two, is enough for most people to feel a real difference within a couple of months.
This is the long-game plan. If you just want something quick to do before class or the gym, use our 5 to 10 minute wrist warm-up and prehab routine instead, and come back here when you're ready to build proper strength.
Why are my wrists so weak?
Most of us never train them directly. Wrists get a workout every day from typing, carrying and scrolling, but that's light, repetitive work, and then we suddenly ask them to hold our whole body weight in a handstand, a push-up or a pole invert. The muscles that move the wrist and fingers live mostly in the forearm, and their tendons cross the wrist, so stronger forearms and grip are a big part of having wrists that cope with load.
The wrist moves in a few directions, and a good programme trains all of them: bending forward (flexion) and back (extension), tipping towards the thumb and the little finger (radial and ulnar deviation), turning the palm up and down (supination and pronation, which actually happens in the forearm), plus gripping and opening the fingers.
Before you start: the pain rules
- Mild effort or a bit of muscle burn is fine. A little discomfort, up to around 3 out of 10, is usually acceptable as long as it settles by the next morning.
- Sharp pain, pain that builds during the set, tingling or numbness means stop that exercise.
- If you have a current injury, swelling or pain that's been hanging around for weeks, see a physio first and get an exercise plan for your situation. Our guide to wrist pain treatments explains when to get help.
You'll need a light dumbbell (0.5 to 2 kg is plenty to start, and a full water bottle works), a resistance band, a soft ball, a hairband or rubber band, and a hammer or a short stick with a weight at one end.
Phase 1 (weeks 1 to 2): mobility and isometrics
Isometrics mean pushing against resistance without the joint moving. They're a gentle way to wake up the muscles and are a common starting point in hand therapy programmes, including the NHS hand therapy wrist strengthening sheet from Chelsea and Westminster Hospital.
- Slow wrist circles: make a loose fist and draw the biggest, slowest circle you can with your knuckles, 5 each direction. It should feel smooth, with no forcing at the end of the range.
- Isometric holds in four directions: rest your forearm on a table with the wrist straight. Use your other hand to resist as you try to bend the wrist up, down, towards the thumb and towards the little finger, without letting it move. Push at about half effort for 10 seconds, 5 times in each direction.
- Isometric rotation: elbow bent at your side, hold your forearm with the other hand and try to turn the palm down, then up, against it. 5 holds of 10 seconds each way.
- Ball squeeze: squeeze a soft ball firmly but not to your absolute max, hold 5 seconds, relax. 2 sets of 10.
- Finger opening: loop a rubber band around your fingertips and thumb and spread them open against it. 2 sets of 15. This balances out all the gripping and is lovely for pole dancers and climbers.
Phase 2 (weeks 3 to 6): wrist curls in every direction
Now you add movement and light weight. Keep the forearm supported so the work really comes from the wrist, lift for a count of two and lower for a slow count of three or four, because the lowering part is where a lot of the strength is built.
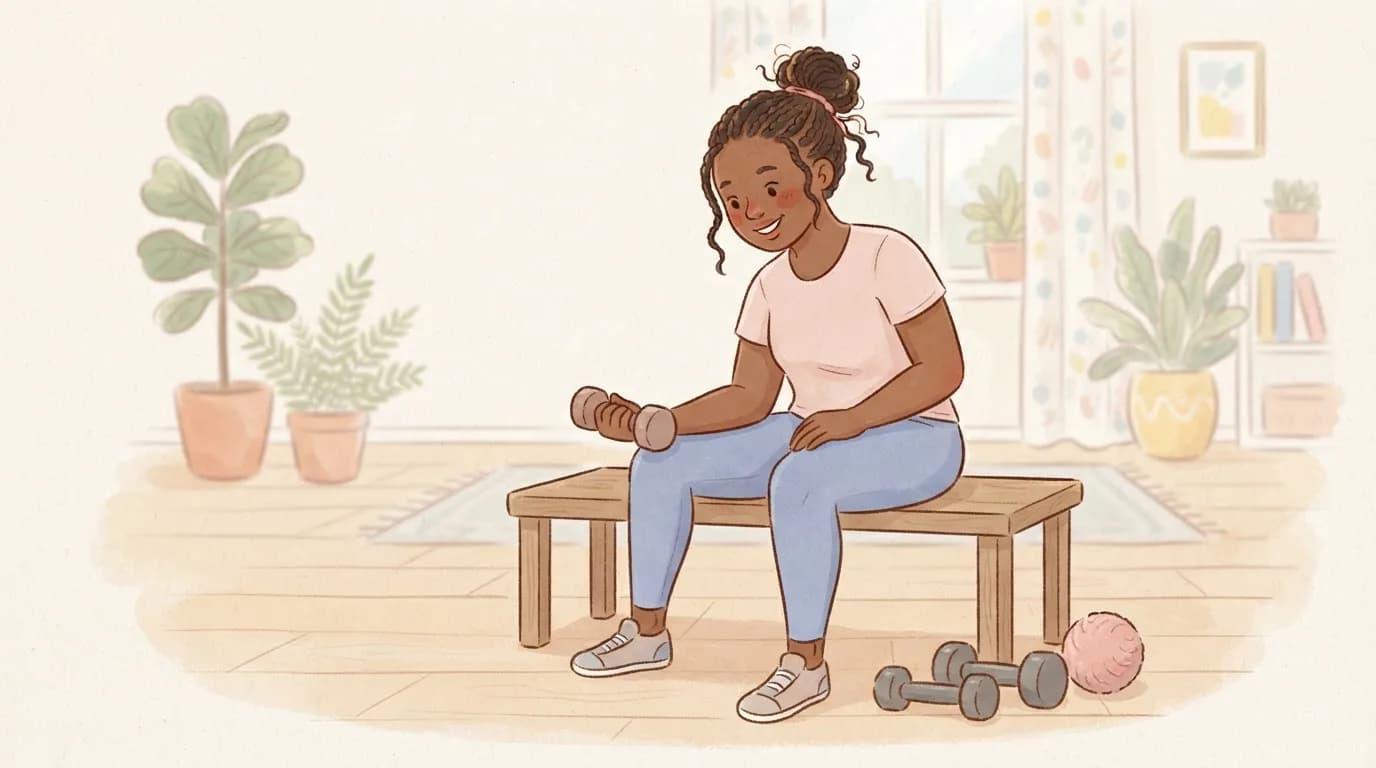
- Wrist curls (flexion): forearm on your thigh or a bench, palm up, wrist hanging just off the edge. Curl the weight up, lower slowly. 2 to 3 sets of 12 to 15.
- Reverse wrist curls (extension): same position with the palm down. Use a lighter weight than for curls, as these muscles are usually weaker. 2 to 3 sets of 12 to 15, with a slow lowering.
- Radial and ulnar tilts: stand with your arm by your side, holding a hammer or dumbbell by one end. Tip the weighted end up in front of you using only your wrist, then turn around so it's behind you and tip it up again. 2 sets of 12 each way. Hold further along the handle to make it easier.
- Forearm rotations: elbow bent at 90 degrees and tucked into your side, hold the hammer upright and slowly rotate the palm down, back to the middle, then palm up. 2 sets of 10 each way.
- Towel wring: roll up a hand towel and wring it out as hard as you can in one direction, then the other. 3 rounds of 20 to 30 seconds. It's an underrated grip exercise and very satisfying after a long day.
Phase 3 (weeks 7 and beyond): loaded positions and grip
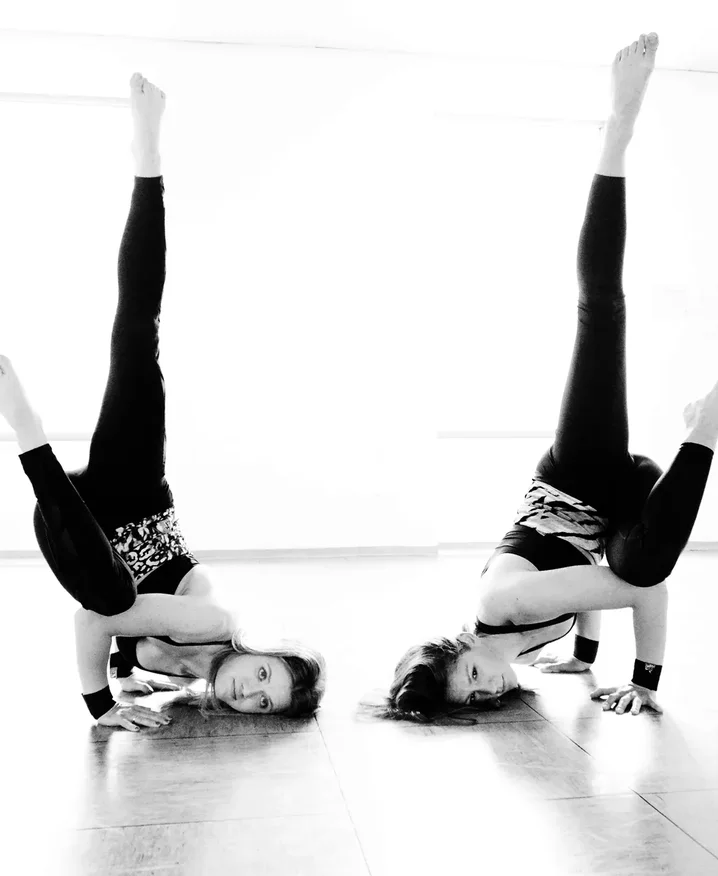
This is where you teach your wrists to handle bodyweight, which is what most of us actually need for pole, handstands, yoga and the gym. Do these on a carpet or mat, and keep the number of sets low at first.
- Tabletop wrist rocks: on hands and knees with hands under shoulders and fingers forward, slowly rock your weight forward over your hands and back. 2 sets of 10, then repeat with fingers turned out to the sides.
- Palm lifts: in the same position, keep your fingertips down and lift the heels of your hands off the floor, then lower slowly. 2 sets of 8 to 10. You'll feel your forearms work hard on this one.
- Plank holds on hands: push the floor away and spread your fingers wide, pressing through the pads of the fingers as well as the palm. 3 holds of 20 to 30 seconds. Start from your knees if needed.
- Farmer's carry: hold a heavy-ish weight in each hand (shopping bags count) and walk tall for 30 seconds. 3 rounds.
- Dead hang: if your shoulders are ready for it, hang from a bar or pole with active shoulders for 10 to 20 seconds. 3 rounds. If you're a pole dancer, our pole conditioning plan for stronger wrists takes this further.
Masha's tip: the curls and isometrics are perfect TV exercises. Keep a light dumbbell and a rubber band next to the sofa and you'll get through phase 2 without ever feeling like you're "working out".

A sample weekly plan
Aim for three strength sessions a week on non-consecutive days, around 15 to 20 minutes each. You can do them on the same day as your normal training, ideally afterwards so you're not tiring your forearms before you need them.
| Weeks | Monday | Wednesday | Friday |
|---|---|---|---|
| 1 to 2 | Circles, isometrics (5 x 10 s each way), ball squeeze, finger opening | Same as Monday | Same as Monday, holds up to 15 s |
| 3 to 4 | Wrist curls, reverse curls, tilts, rotations (2 sets each) | Isometrics, towel wring, finger opening | Wrist curls, reverse curls, tilts, rotations (2 to 3 sets) |
| 5 to 6 | All curls and rotations (3 sets), slightly heavier | Towel wring, finger opening, tabletop rocks | All curls and rotations (3 sets), farmer's carry |
| 7 to 8 | Curls (3 sets), palm lifts, plank holds | Tabletop rocks, finger opening, dead hang | Curls (3 sets), farmer's carry, plank holds |
On your other training days, do a short warm-up before you load your wrists, like the one in our wrist warm-up and prehab routine. Rest days are part of the plan too, because that's when your tissues actually adapt.
How do you know when to progress?
Use a simple rule: when you can do all your sets at the top of the rep range with smooth control and no pain the next day, make it a little harder. Add about half a kilo, slow the lowering down further, add a set, or hold an isometric or plank a bit longer. Change one thing at a time. The Physiopedia guide to sporting hand and wrist conditioning uses the same idea of building mobility first, then strength, then endurance.
How long does it take to strengthen your wrists?
Most people notice their forearms working better within a few weeks, mostly because the muscles and the coordination improve first. Tendons and ligaments adapt more slowly, which is why it pays to keep going for months rather than doubling the weight after a good week. Wrists that were strong enough for last year's training may need a top-up when you start learning something new, like your first handstand or a harder pole trick, so see this as something you keep doing in the background.
Should you wear wrist wraps while you strengthen?
For the light curls and isometrics, you don't need them, because you want the muscles doing the work and you want to feel what's going on. For heavy weight-bearing sessions, like long handstand practice, push-up sets or a big pole class, a firm compression wrap can make your wrists feel more supported and remind you to keep them stacked and aligned. I made SneakyDeez to sit low on the wrist so they give that compression without stopping you from bending the wrist or gripping, which matters when you're still building strength.
If you're wondering which size to pick, our guide on how to measure your wrist takes about a minute.
Putting your wrist strength to work in the gym
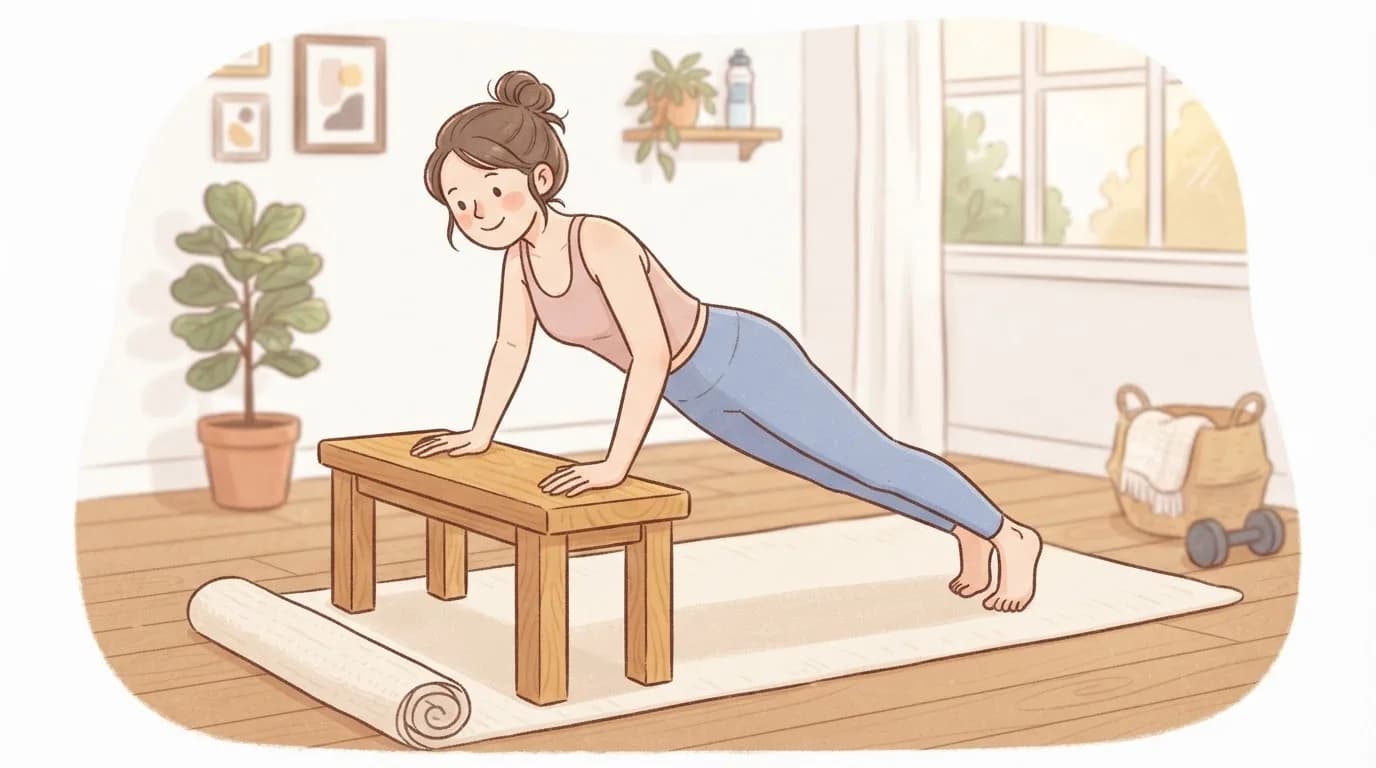
Push-ups are where a lot of people first notice weak wrists, and quite often the set-up is part of the problem. My guide to push-up mistakes that hurt your wrists goes through the seven most common ones and how to fix each of them.
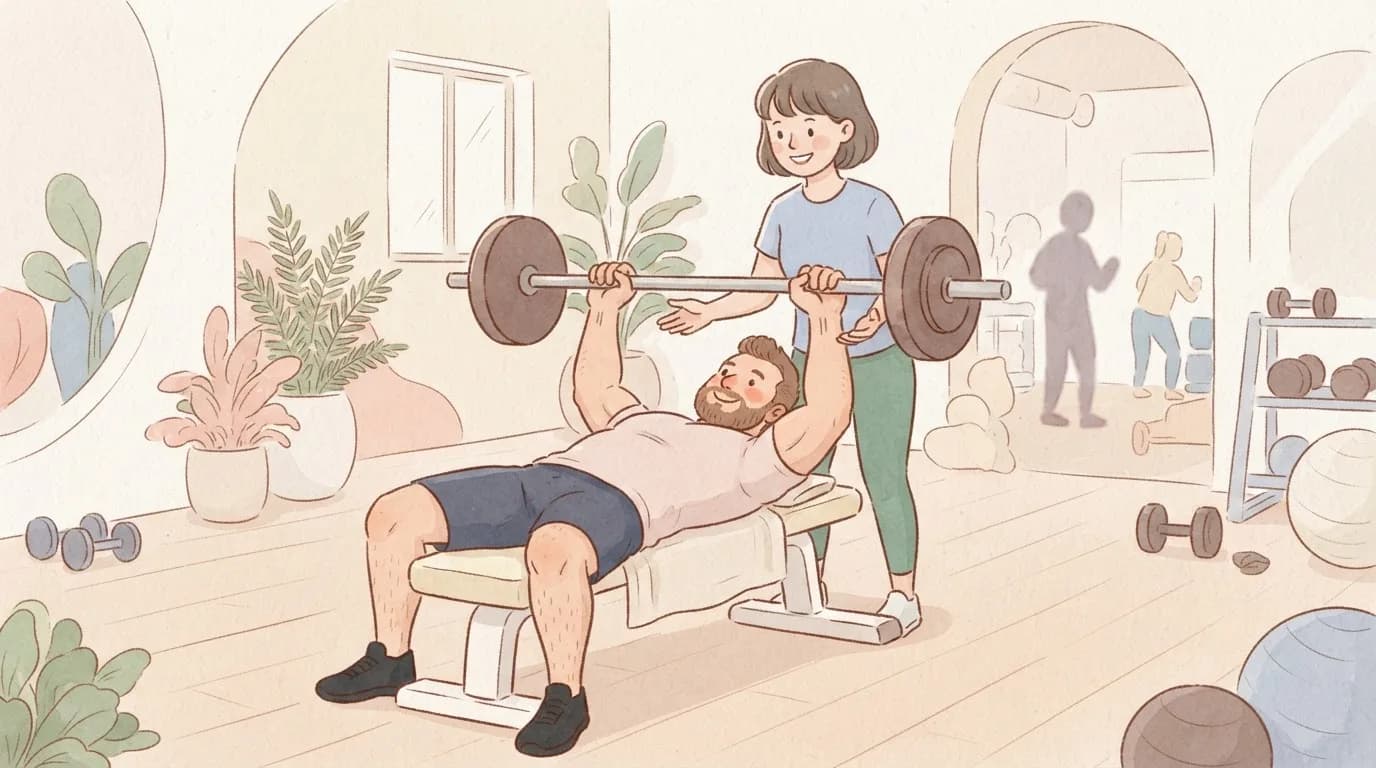
Barbell pressing asks something slightly different, because a heavy bar tries to lever your wrist backwards. If the bench is where your wrists complain, my guide to wrist pain when bench pressing covers bar position, grip width and the accessory work that helps.
Once the loads get heavy, strength work and wraps go well together. My guide to wearing wrist support at the gym explains which sets are worth wrapping for and how tight to go. If you're still choosing a pair, the best gym wrist support compares wraps, straps, sleeves and braces.
For more on specific movements, have a look at wrist pain from push-ups, wrist pain in handstands and wrist support when lifting weights. And if you play tennis or padel, our racket sports wrist guide picks out the exercises that matter most for your game.
Everything in this guide
- Wrist Pain When Bench Pressing: Causes, Grip Fixes and What HelpsMost bench press wrist pain starts with the bar sitting too high in your hand, and fixing your grip is the first step before accessory work and smarter loading do the rest.
- Wrist Pain From Push-Ups: Why It Happens and How to Build ToleranceA flat-palm push-up bends your wrist close to 90 degrees under more than half your bodyweight, which is why it hurts so many people, but the right variations and a gradual plan can get you back to comfortable push-ups.
- Wrist Support at the Gym: When to Wear It, How Tight and How LongWrist support works best when you wear it for the right sets and take it off for the rest, and this simple routine shows you when to wrap, how tight to go and how to cut back over time.
- Wrist Wraps for Lifting Weights: Presses, Front Rack and OverheadWrist wraps help on the lifts that push your hand back and do nothing for pulls, so this guide covers how to wrap for each lift and the technique cues that do most of the work.
- Best Wrist Support for the Gym: Wraps, Straps, Sleeves or Braces?Wraps, straps, sleeves and braces all do different jobs, so this guide matches each one to the training you actually do and explains what to look for when you buy.
- 7 Push-Up Mistakes That Hurt Your Wrists and How to Fix Each OneMost push-up wrist pain comes from a handful of small form mistakes. Film one set, run through this checklist and fix them one at a time.
- Exercises to Prevent Wrist Injuries: A 7-Minute Warm-Up and Prehab RoutineA quick wrist warm-up you can do before every session and a short prehab finisher for afterwards, so your wrists are ready for what you're about to ask of them.
Questions people ask
Can you strengthen your wrists at home without equipment?
Yes. Isometric holds against your other hand, a towel wring, tabletop wrist rocks, palm lifts and plank holds need no equipment at all. A full water bottle can stand in for a light dumbbell when you get to wrist curls.
How often should I do wrist strengthening exercises?
Around three times a week on non-consecutive days works well for strength, with a short warm-up on your other training days. Your wrists need the rest days to adapt, so doing hard wrist work every single day usually isn't better.
What weight should I use for wrist curls?
Start light, around 0.5 to 2 kg, and use less for reverse curls because the extensors are usually weaker. Pick a weight you can lift 15 times with a slow, controlled lowering, then add about half a kilo once that feels easy for all your sets.
Do push-ups strengthen your wrists?
Push-ups load the wrists in extension, so they do build some tolerance, but they don't train every direction the wrist moves. If push-ups hurt your wrists, build up with the isometrics, curls and tabletop rocks first, and look at your hand position and grip.
Is it normal for wrists to ache after strengthening exercises?
A mild muscle ache in the forearms that's gone by the next morning is normal when you start. Sharp pain, pain in the joint itself that lingers, or tingling isn't, so scale back and get it checked if that happens.
Shop the fix
Wraps made for exactly this
Handmade in Slovenia by a pole teacher, with firm compression that sits low on the wrist.
Sources we checked
Written by
Masha Pinner
Pole dance teacher at Pandora Art of Pole in Slovenia and former fashion designer. Masha started SneakyDeez in 2017 after years of teaching on sore wrists, and she still designs every pair.
Read Masha’s story